How To Change A Kitchen Tap: Here’s What To Do

Even though we recommend getting professional assistance from one our fully qualified and expert London based plumbers, with enough time and skill at your disposal there are some projects you can always DIY. That includes attempting to change a kitchen tap. In light of this, even though installing the tap unit may be simple, you still need to conduct your research in advance, and that’s exactly what we’re going to accomplish for you.
Below you can find a list of required supplies, comprehensive instructions, and further advice about changing kitchen taps.
All The Tools You May Need To Change a Kitchen Tap.
You will want particular instruments to perform the task if you decide to replace a kitchen tap on your own. Be aware that you should visit the closest hardware store, which will cost money if you don’t already have the right tools. So here are some things you could require:
- PTFE tape
- Box spanner
- Back nut box spanner
- isolation valves
- Pipe cutter
- Hacksaw
- Joining Compound
- Basin wrench
- Cleaning cloth
- Old Towel
- Open-ended spanners
- Limescale remover
- screwdriver
- adjustable pliers
- adjustable wrench
Kitchen Tap Replacement: How Long Does It Take?
Really, it all depends on how handy you are. It also depends on how well the existing plumbing to the current kitchen tap has been installed dependent on this if all is well it can be completed within the hour if not then expect a little longer. Additionally, it may take all day to install your new tap if you have no idea what an adjustable spanner looks like.
You may always make an appointment to see one of our skilled local plumbers in London to replace your kitchen tap if you aren’t confident that you can handle it yourself.
To make an appointment with our plumbers, please contact us and enjoy the Exceptional services we deliver.
Removing The Tap: Follow The Steps
Many homeowners like to store things in the space under their sinks. If you follow suit, we advise taking out everything before you start working so you can reach the pipe connectors.
Step 1: Turn off the water mains supply
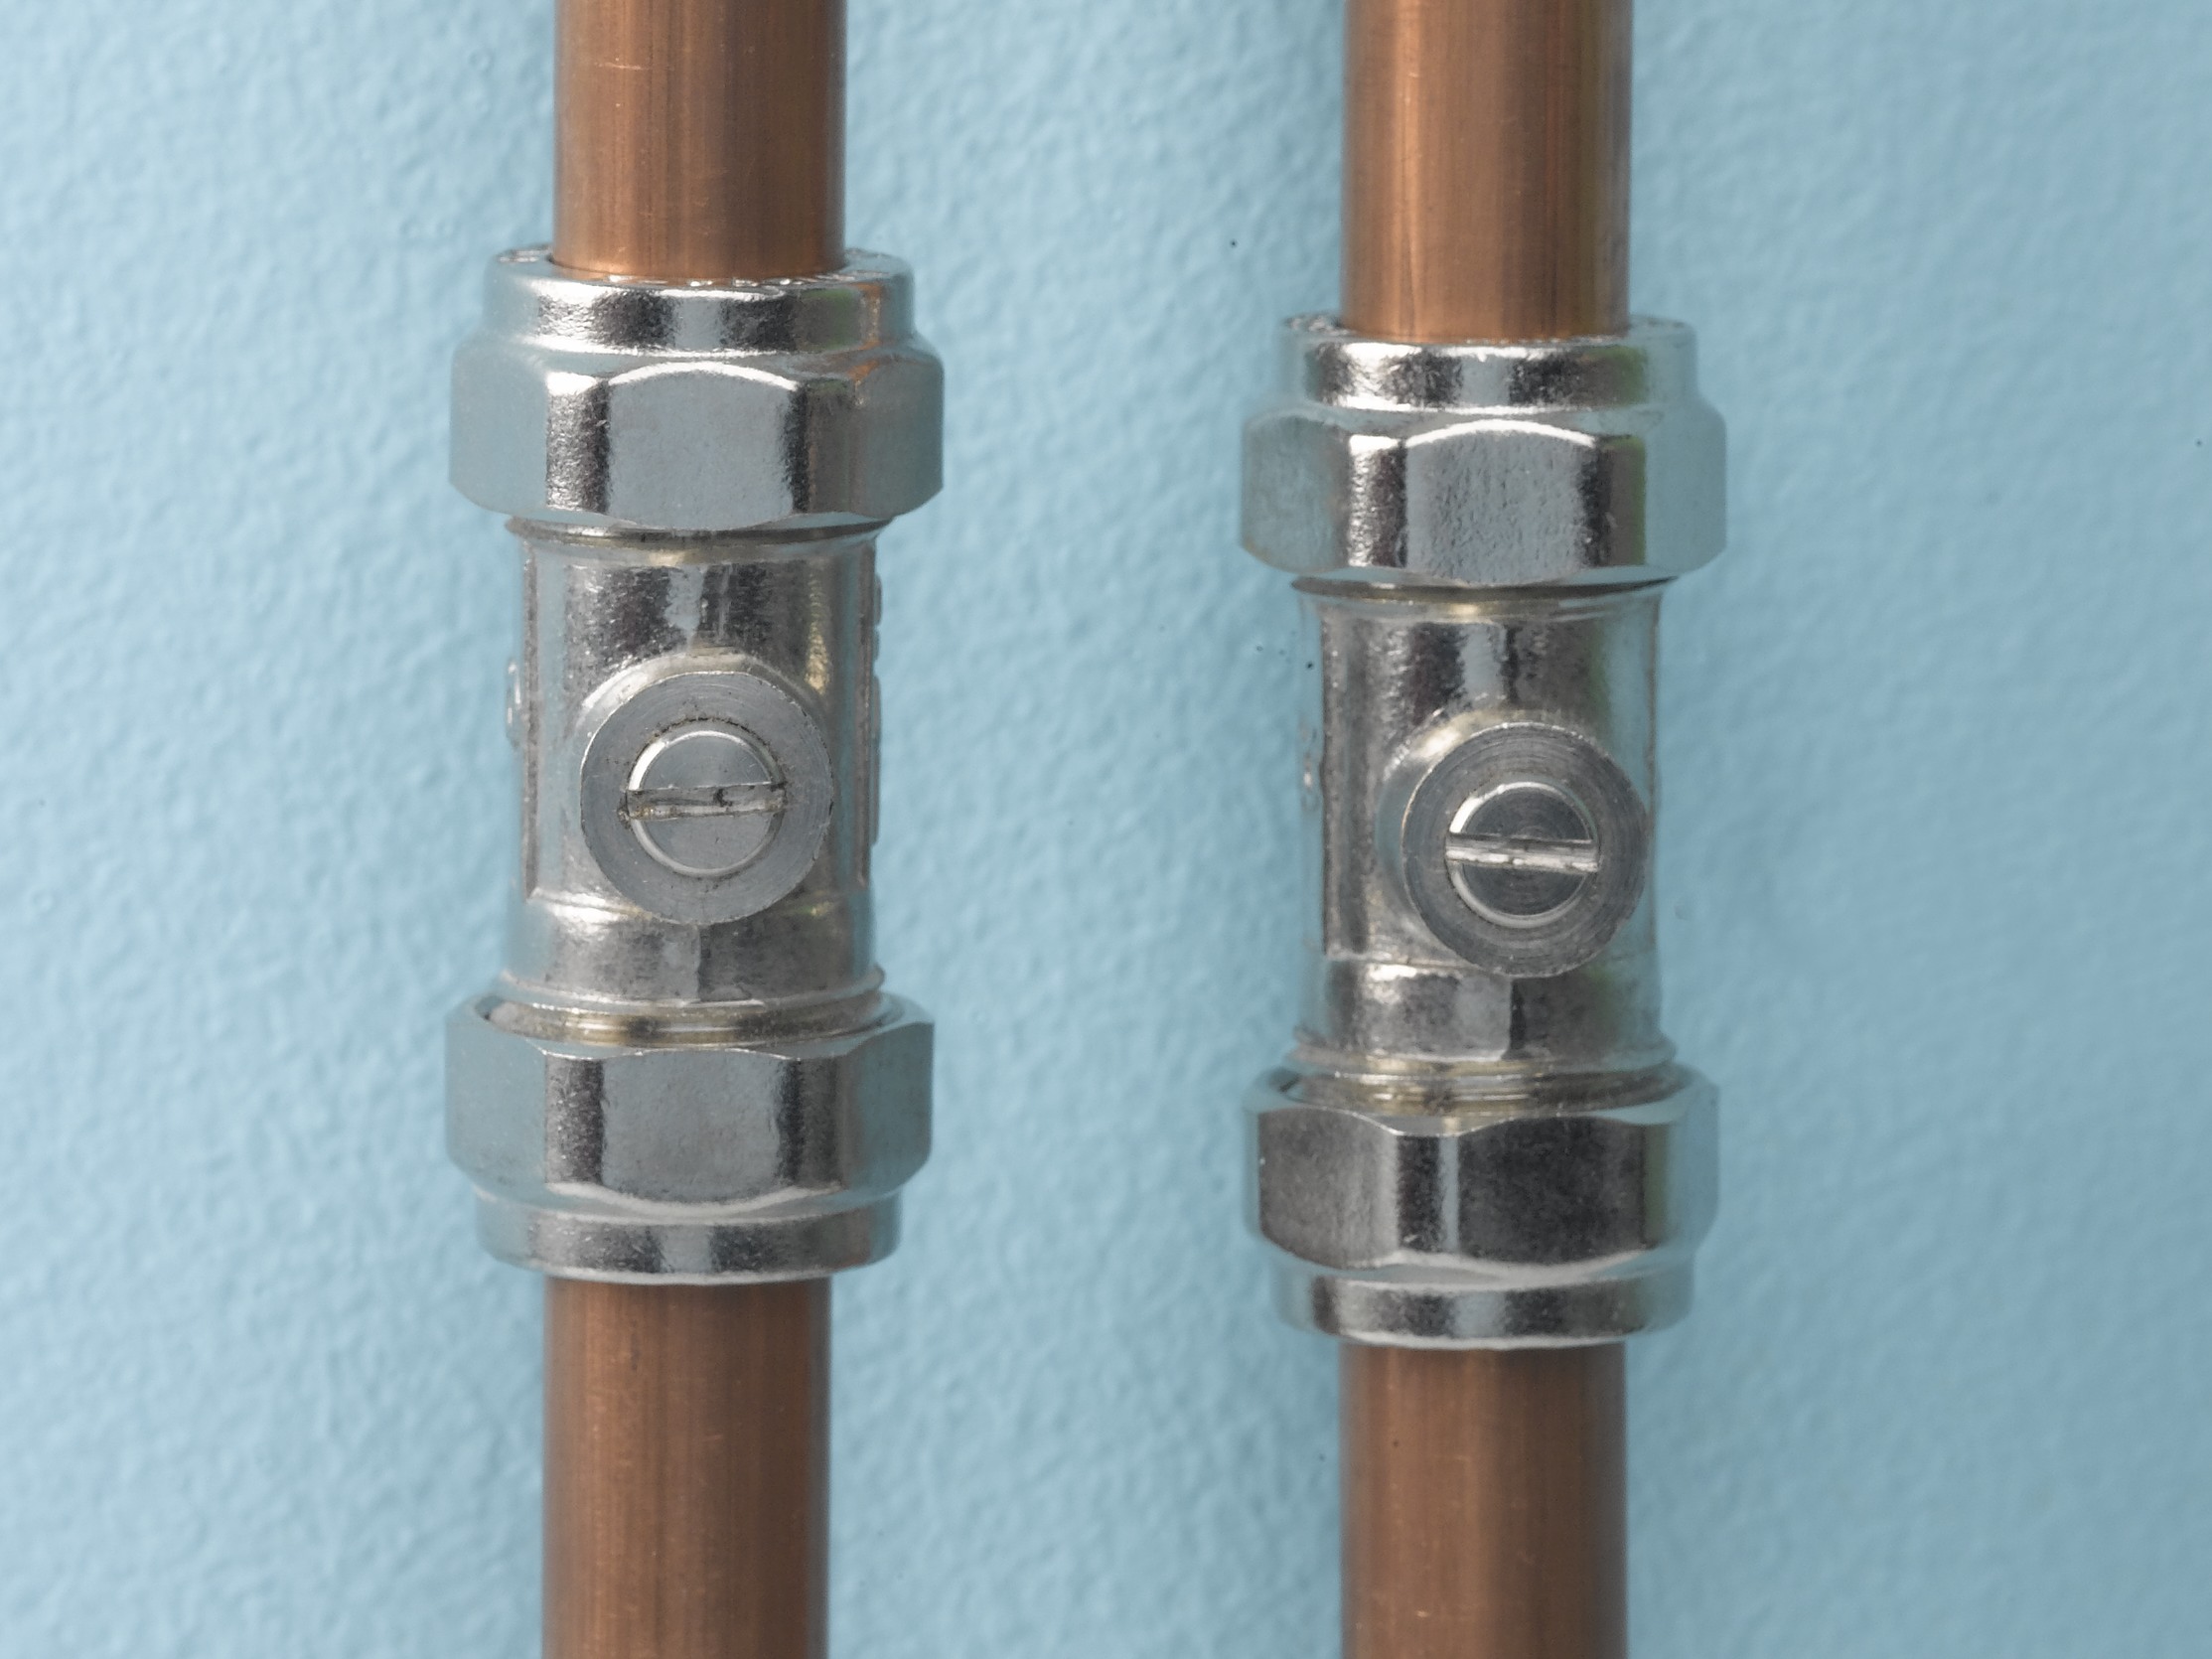
you must find the pipe supply system’s isolating valve in order to turn the water supply off. It is commonly installed on the outputs of the hoses. Now, only turn the valve by 25% to stop the flow of water. To check if you’ve shut it off properly, try running both hot and cold water. If your system lacks an individual isolation valve, close the main stopcock to stop the flow of water. The following step can be taken if you are certain there isn’t any circulating water.
Step 2: set up your working environment
:max_bytes(150000):strip_icc()/woman-with-toolbox-fixing-sink-6534-000042-58178ca93df78cc2e8f50d09.jpg)
Put a cloth underneath the sink and have ready all the tools you’re going to use. Make sure you have enough room for your work. Keep your old tap instruction manual handy if you still have it. While attempting to take off the old tap, you might need to take a few moments to look at the instruction manual.
Step 3: Remove the tap’s connection to the main water supply.
:max_bytes(150000):strip_icc()/removing-a-faucet-2718826-03-0ed474ea7f55454c86898be4d156a692.jpg)
Depending on How installed the pipe connections to the tap under the sink may either be flexible or rigid (e.g copper) : rigid and flexible. if rigid and the tap is like for like you might get away with a straight swap. if not exactly like for like you may need to alter the copper pipework and at this point we would recommend giving us a call to enlist the help of 1 of our fully qualified and experienced plumbers. for flexible connections make use of an spanner, unscrew the nuts holding the joints to the pipe if you have a regular hose system.
Once the tap has been turned off, some water may leak. To connect a flexible pipe, you must loosen the nuts holding the installed isolator valves or mains pipe connections together.
Use a set of adjustable pliers to hold the connection/valve in place as you proceed. Keep in mind that the nuts may be difficult to release because they may tighten up with time.
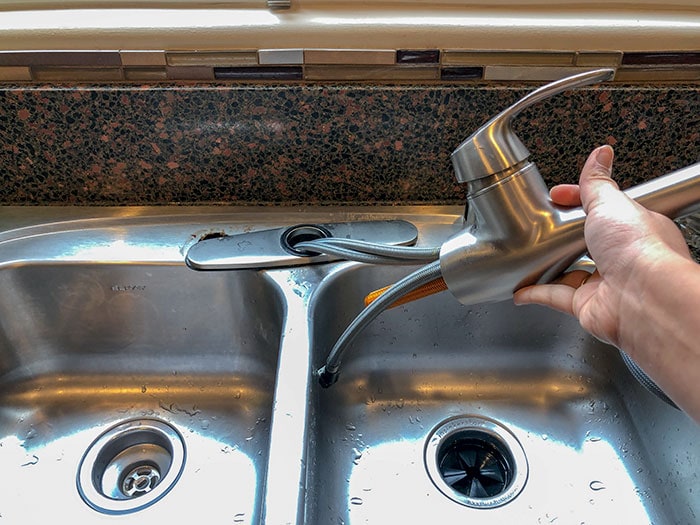
Step 4: Remove the existing tap.

It’s now time to turn off the tap. The nut holding the tap to the surface should first be loosened. Take hold of the tap and fix it in position. As you try to loosen the nut, make sure it doesn’t rotate. It is meant to be taken out of the stud so that you may separate the flexible hoses and tap from it.
When removing said hoses, take extreme caution, especially if they’re made of stainless steel. After everything has been taken out, spend some time cleaning any unpleasant buildup or residue from the exposed main pipe connections underneath the kitchen sink.
All done! You just succeeded in removing your kitchen tap.
How To Install a Tap
It’s time to get your new kitchen tap installed now that you’ve gone through the dreadful procedure of removing one. Make sure to select the right type of tap for your interior from the several options available. Here is a fitting guide.
Step 1: Tidy The Mounting Surface
Clean the area where your previous kitchen tap was. Take your time; certain buildup could be more difficult to get rid of. To avoid damaging the region, refrain from using any harsh cleaning agents or brushes.
During the kitchen tap replacement, avoid scratching and sharp edges.
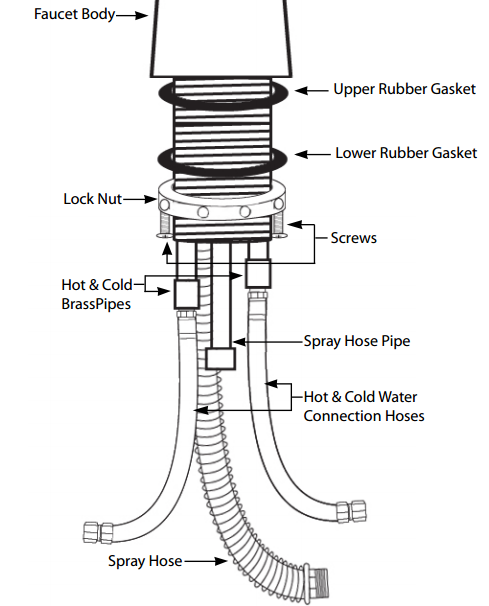
Step 2: Install the new kitchen tap
Installing a kitchen tap is simpler than removing one, as we previously stated. Therefore, if you purchased a regular individual pilar or even a bridge combination type, you should have 5 pieces of PTFE tape applied to the lowest threads of the mains connection beforehand.
To secure the tape properly, wrap it in a clockwise direction, making sure you don’t turn in the opposite direction. Once it is finished, you can install your new tap. If your model’s hoses aren’t already installed, acquire the manufacturer’s instructions and connect them manually. Your mains connections hoses should then be fed through the previously constructed tap hole.
By keeping the tap in place, you can seek assistance. When handling the hoses below the sink, they shouldn’t rotate. Finally, using the same set of adjustable spanners or pliers that were used to remove the old tap unit, tighten the retaining nut with your hand.
Install a tap brace if you think your new unit is too heavy for your sink. You only need to make a tiny expense to avoid a great deal of trouble.
Step 3: Reconnecting the mains supply
The final line is almost within reach. Turn the threads manually in order to prevent cross-threading while re-connecting the mains water supply. The existing connection alignment is generally guaranteed, and thread length standards are present in most tap units.
Therefore, once the thread is started, tighten it, but don’t go overboard. The mains pipe connections or installed isolator valves should be secured by tightening the nuts. Using an adjustable or correctly sized spanner, tighten once more. To release extra pressure, be sure to maintain your grip on the connector or valve. That’s all; the next step is to…
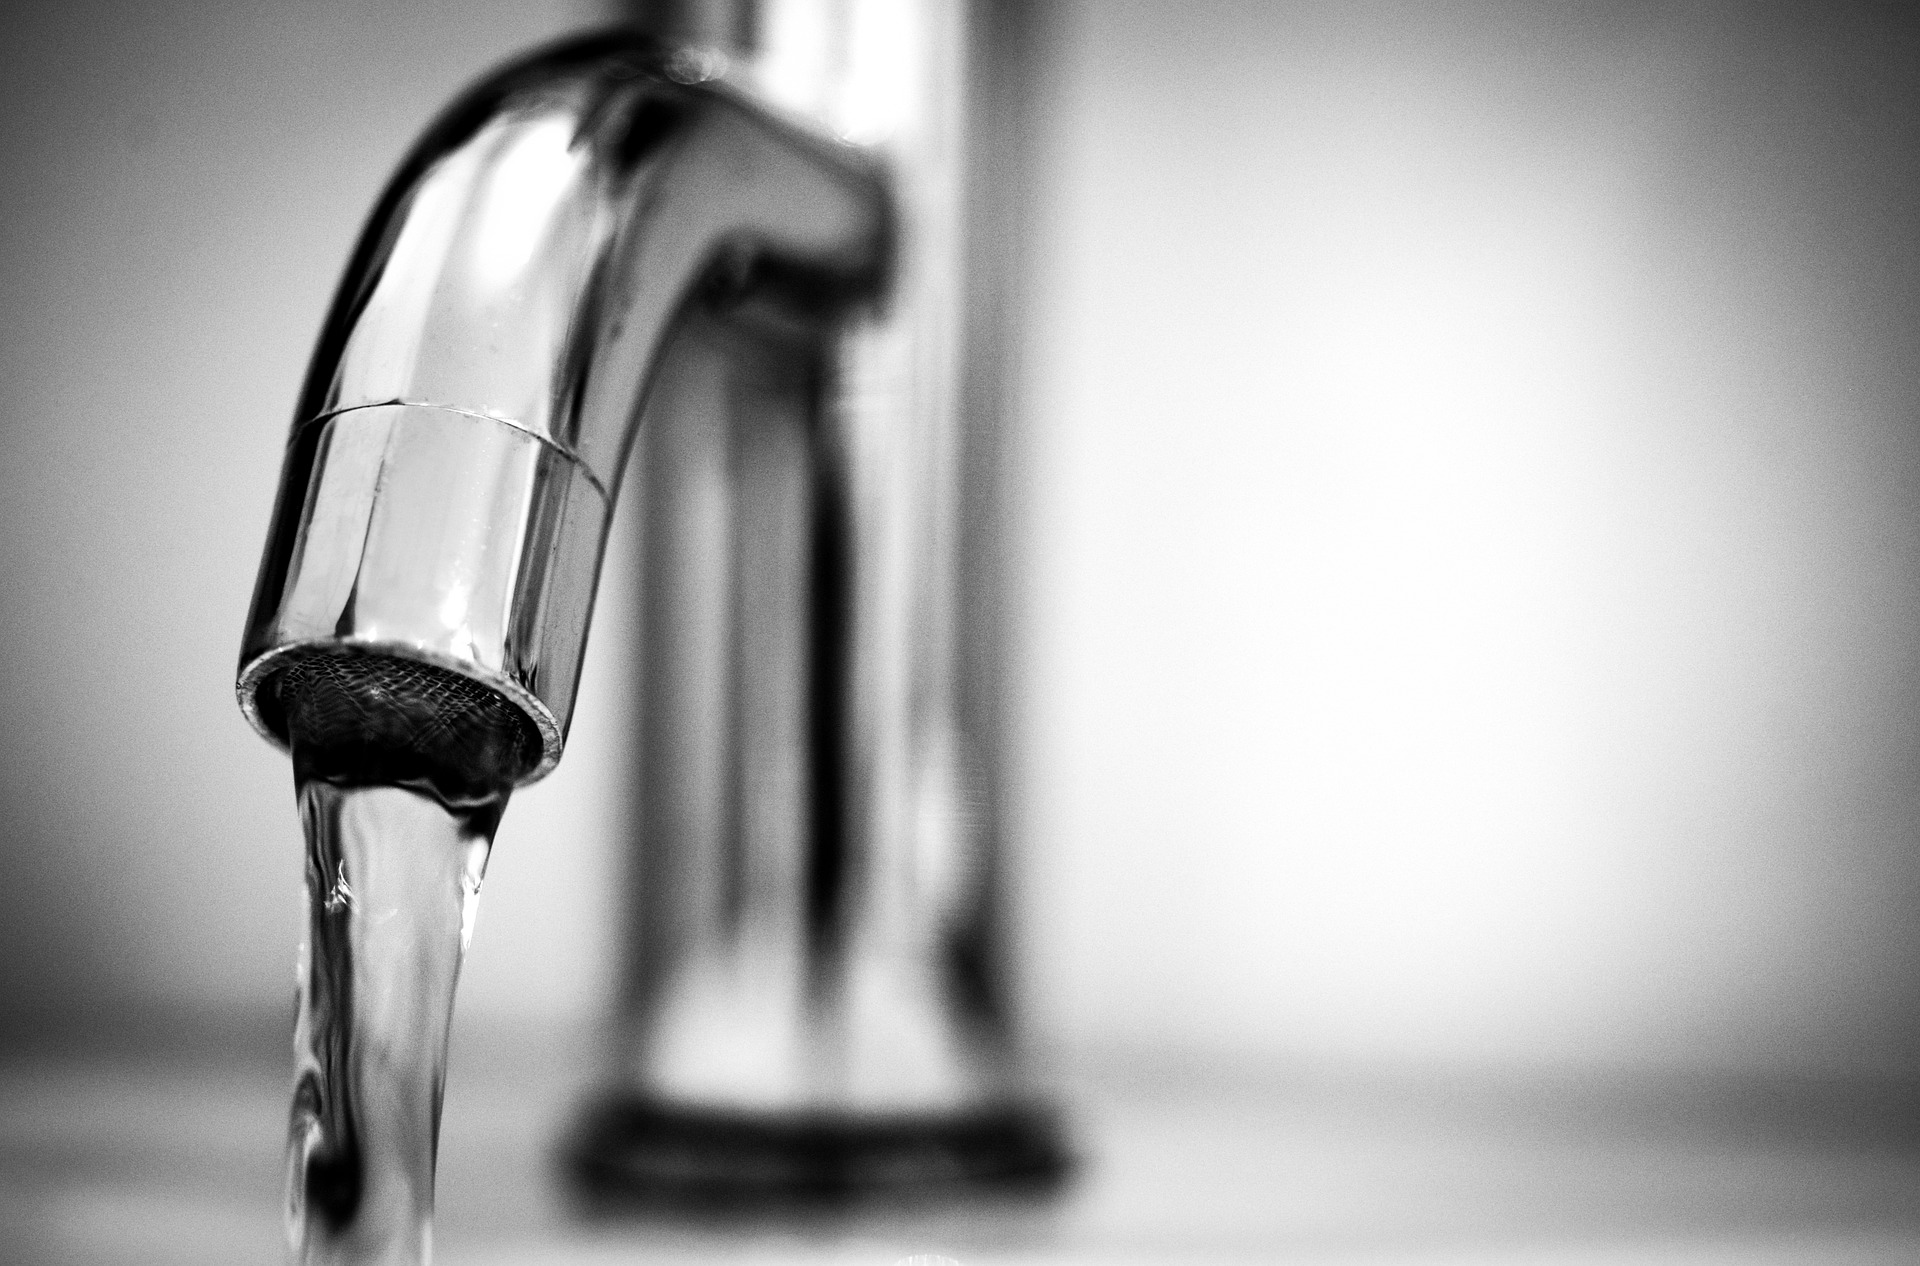
Step 4: Turn The Water Supply On
After everything has been fitted, it is time to switch back on the water supply. Simply return your isolating valves to the initial setting or open the stopcock to turn on the water. Turn on the tap to test it, and then inspect the hoses for drips and leaks.
If everything runs smoothly, kudos! Your kitchen tap has been successfully replaced. Give yourself a high five!
In Conclusion
The process requires a lot of work if you’re changing both hot and cold pipes, but it’s much easier when you’re dealing with mixer taps; there’s a big difference between them. If you’re using a mixer tap, better replace it with a mixer tap, so you don’t temper with the hot and cold connectors. After installing your new taps, ensure a good seal and make sure both your cold water supply and hot water supply tank are still functioning well.
After completing your kitchen tap, it’s a good idea to give your home a deep clean to really enjoy the results. A thorough carpet cleaning can complement your new kitchen upgrades by refreshing your entire living space. Quick Clean Carpet Care is known for providing the best cleaning services, helping homeowners achieve a spotless and welcoming environment.
However
It’s possible to fail when trying to replace your tap. And if that happens, know that our company is one call away from giving you the best service in all of London. We offer a variety of plumbing services, so pick up your phone and call 02086112591 if ever in need of assistance,